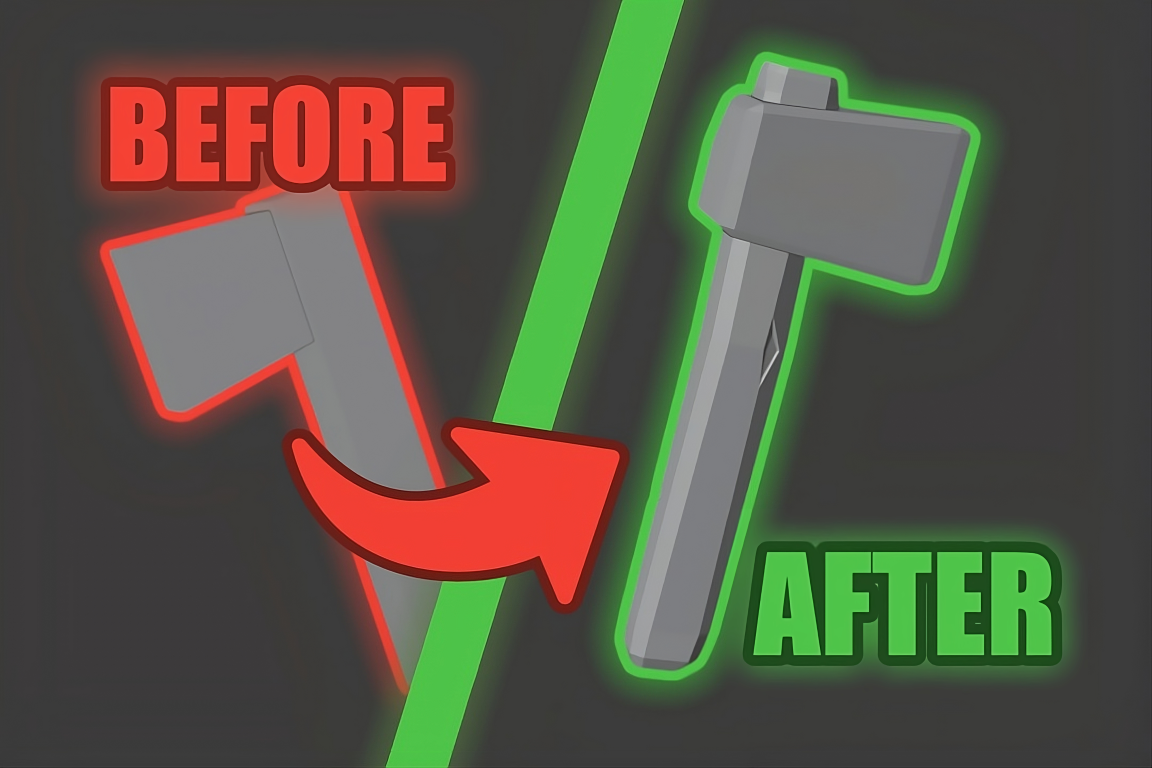
5 Steps: From Brick to Low-poly
Discover 5 easy-to-follow steps to improve your low-poly mesh and create stunning 3D models. Suitable for beginners, this guide covers scaling, beveling, shaping, adding imperfections, and deforming the object.
Introduction
In today's Blender beginner friendly guide, I will cover the basics of Blender to create low poly assets by talking about: scaling, beveling, shaping, adding imperfections and deforming the object.
Table of Contents
- Scale object
- Bevel object
- Shape out the object
- Add some imperfections for more variety
- Deform the object for more imperfections
- Final Steps: Exporting the asset
1) Scale object
Scaling the faces of your low poly mesh is an essential technique to create variety in size and shape. By selecting a face and using the S key, you can control the size of the face with your mouse cursor. This simple step can add depth and interest to your low poly model.
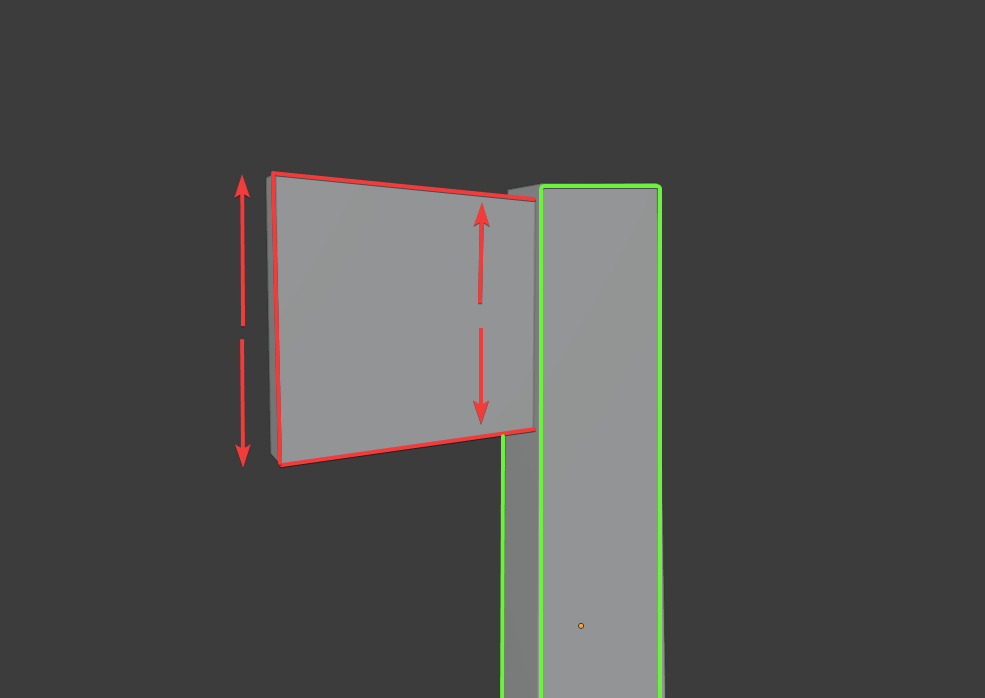
Just select any face you want to scale, and use the S key to resize it. You can control the width with your mouse cursor:
2) Bevel edges
Beveling the edges of your low poly mesh can help smooth out hard edges and enhance the overall visual appeal of your model.
To bevel edges, simply select the edges you want to bevel and use the CTRL + B (Windows) or ⌘ + B (Mac) shortcut. This simple technique can make a significant difference in the final look of your low poly mesh.
Apply these to the rest, by selecting multiple edges and faces at once and bevel them using the same shortcut as before like in this video:
Do the same for the head: