How to Array an Object Along a Curve in Blender
When working in Blender, you may find yourself needing to create complex designs that require an object to follow a specific path or curve. This can be particularly useful for projects like creating railings, roads, or decorative elements that need to maintain a consistent shape along a predefined trajectory. However, manually positioning each instance of the object can be time-consuming and tedious.
Fortunately, Blender offers a powerful solution through the combination of the Array Modifier and the Curve Modifier. This technique allows you to easily replicate an object along a curve, saving you time and ensuring precision in your designs. In this guide, we will walk you through the steps to effectively array an object along a curve, enabling you to enhance your modeling workflow and achieve stunning results with minimal effort.
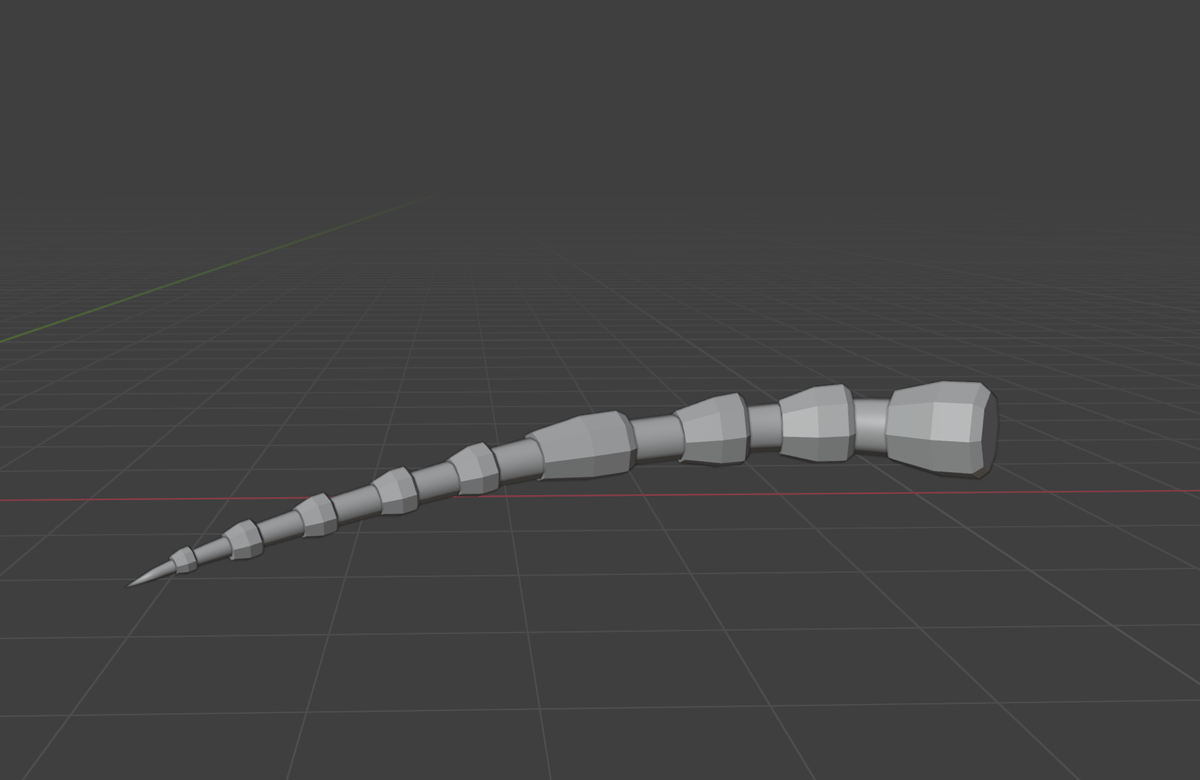
In this guide, we'll look at how we can create something like on the thumbnail.
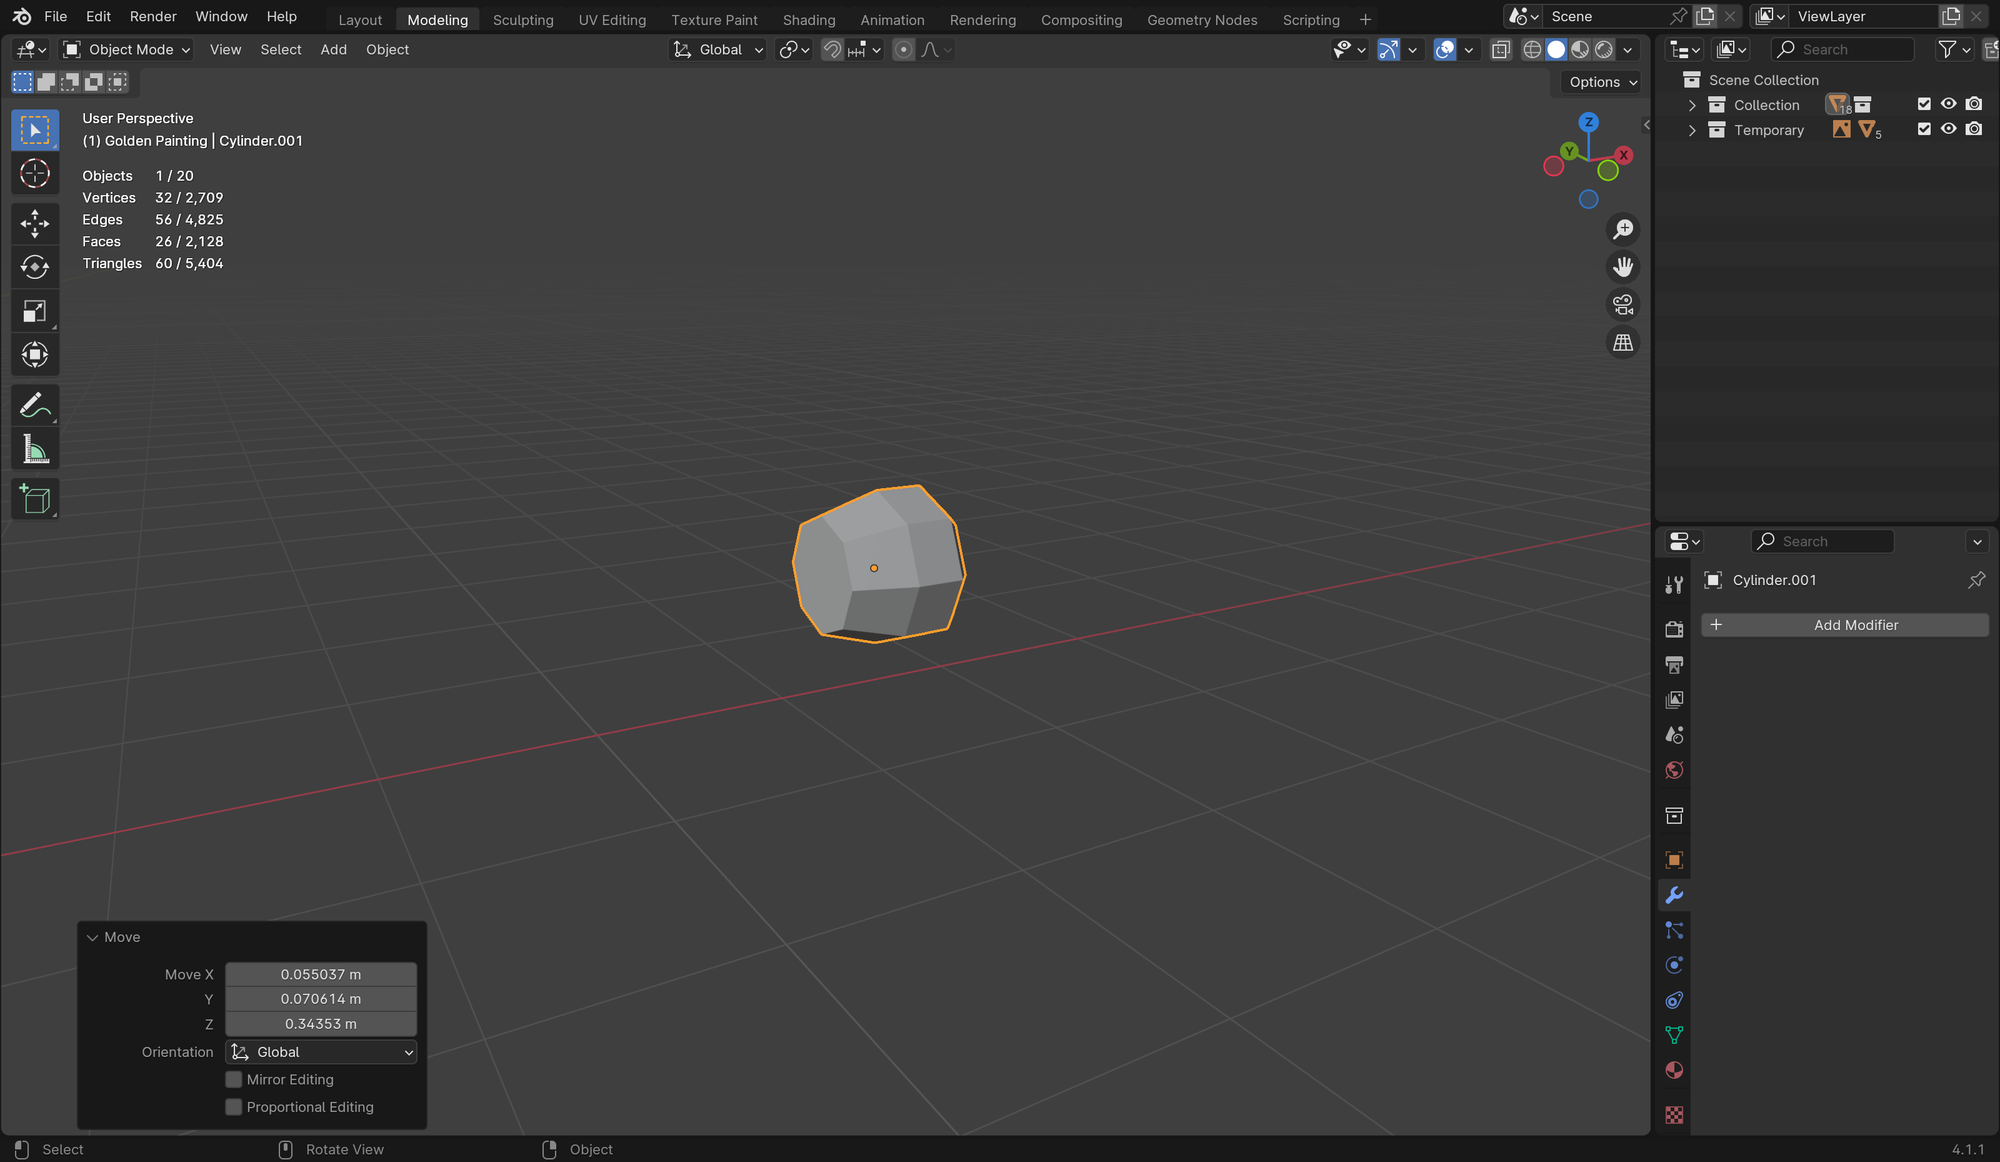
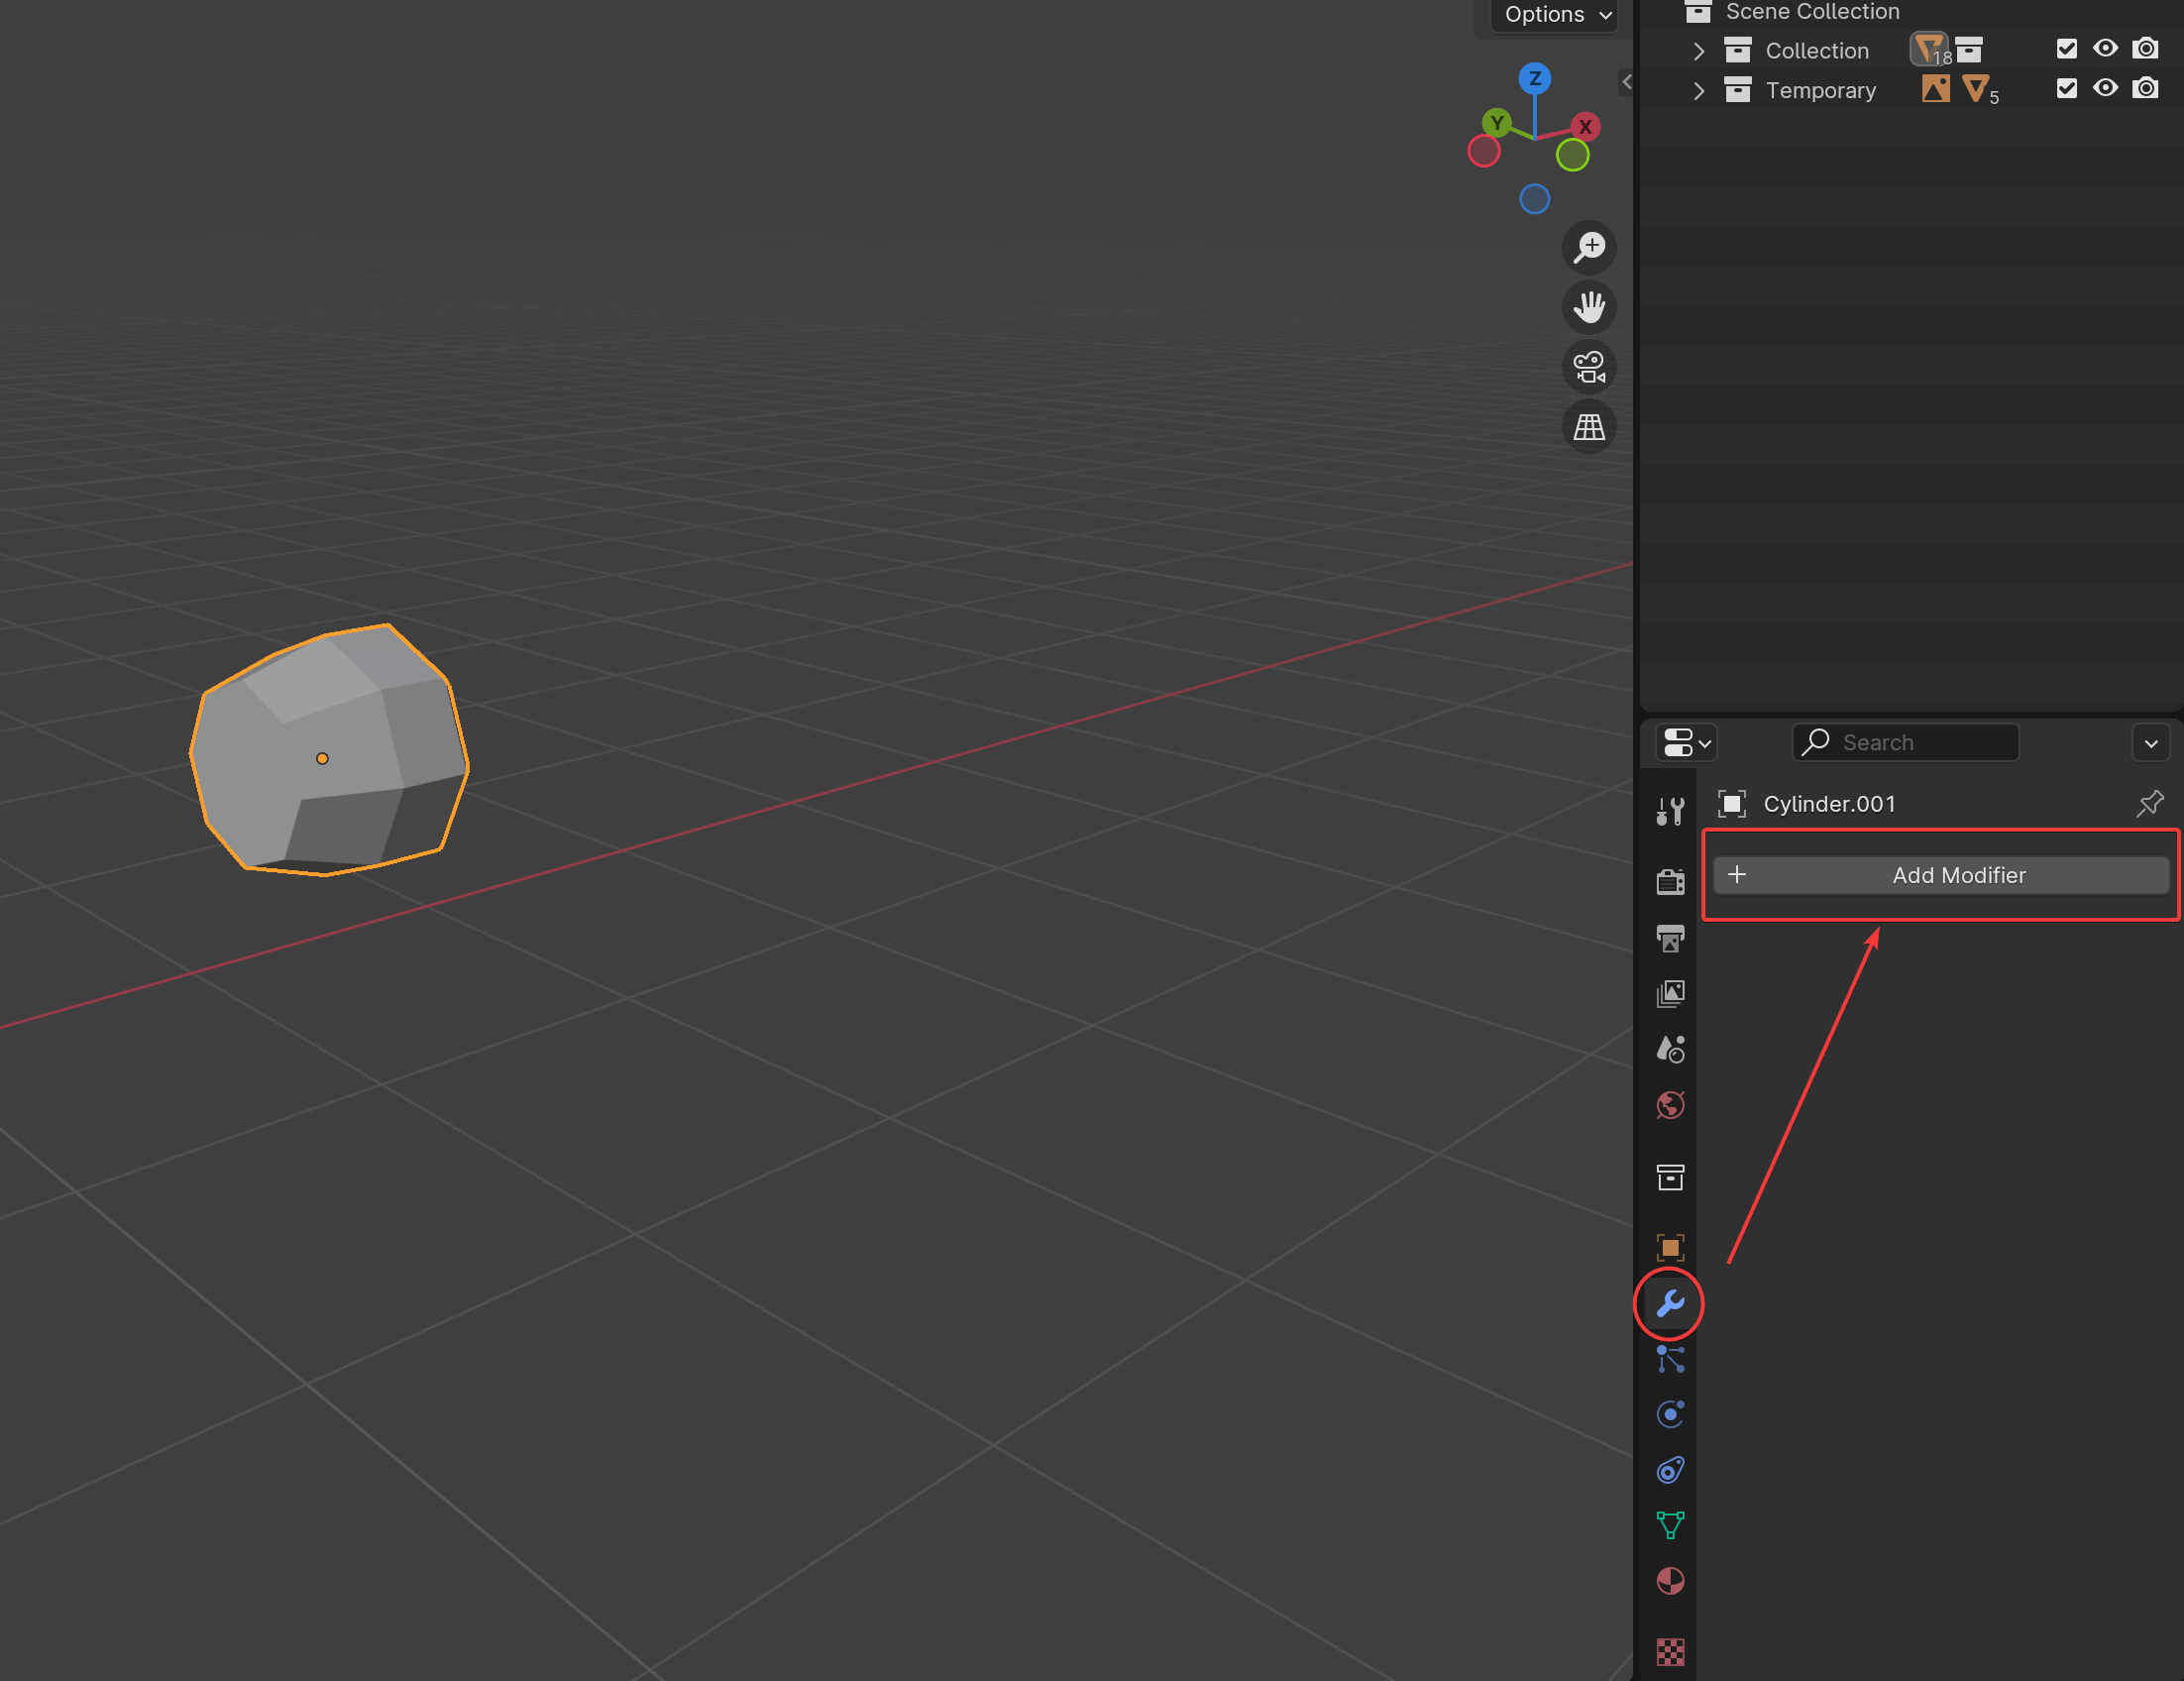
Add Modifier